
Apple Pancake: How to Make It in 20 Minutes or Less
Table of Contents
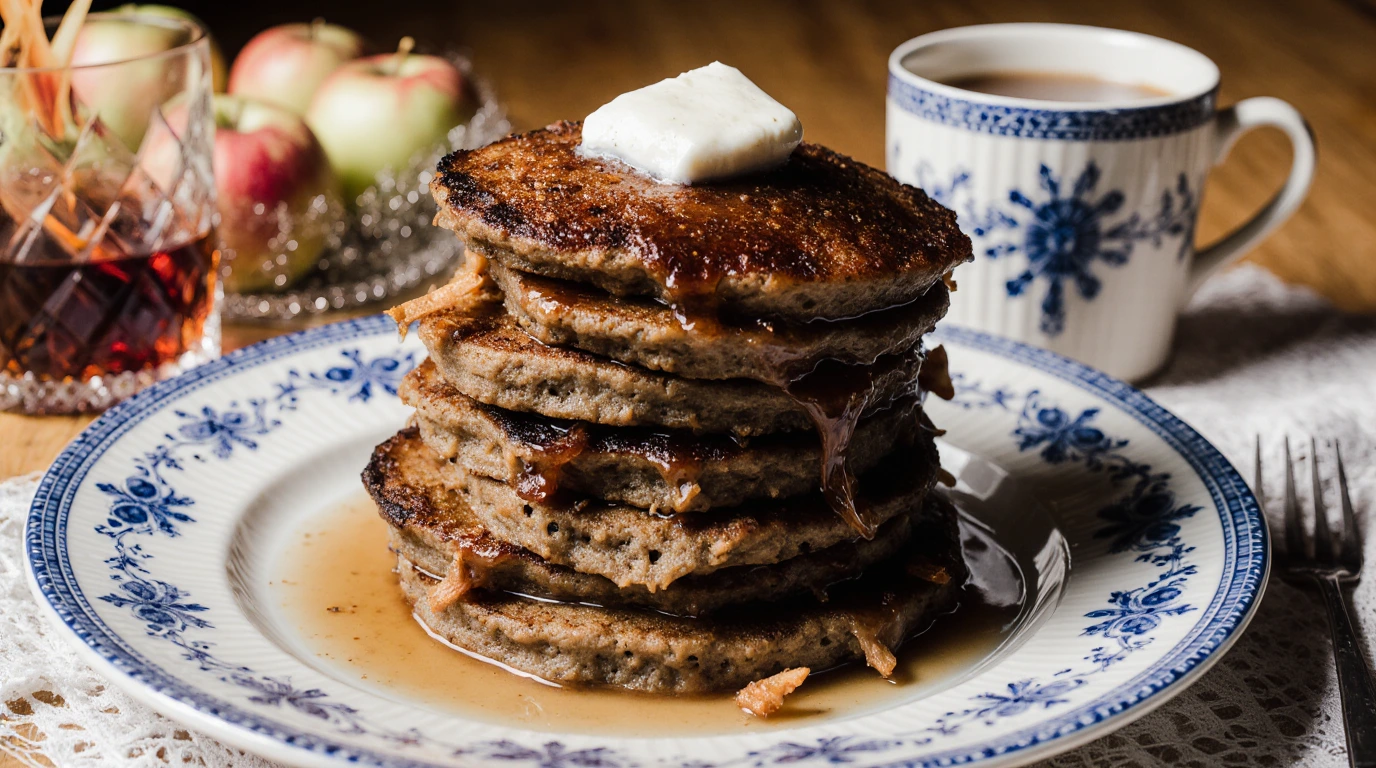
Tired of spending your entire morning making breakfast while everyone waits impatiently at the table? The classic apple pancake—that gorgeous, puffy, caramelized showstopper—seems like it should take hours, but it doesn’t have to. Imagine pulling a golden, skillet-sized apple pancake from the oven in just 20 minutes, with tender caramelized apples nestled in a custardy, slightly crispy pancake that tastes like it came from a fancy brunch café.
After 14 years of perfecting breakfast recipes in both professional kitchens and my home, I’ve streamlined the traditional Dutch baby technique to create this foolproof apple pancake that delivers impressive results in minimal time. The secret is smart ingredient prep and understanding how heat transforms simple batter into something extraordinary.
In this guide, you’ll discover how to make perfect apple pancake in 20 minutes or less, essential apple selection and prep tips, the brown butter technique that elevates flavor, step-by-step instructions for consistent results, creative variations including bite-sized options, and answers to every question about achieving that signature puffy, golden perfection.
Why This Apple Pancake Recipe Works
This apple pancake recipe delivers consistently delicious, impressive results because it focuses on efficiency without sacrificing quality:
- Uses everyday pantry ingredients – Flour, eggs, milk, butter, and fresh apples create bakery-quality results without specialty items
- Ready in just 20 minutes – From starting prep to pulling it from the oven, this recipe respects your time while delivering maximum impact
- Perfect for any occasion – Elegant enough for special brunches, quick enough for busy weekday mornings
- One-pan simplicity – Everything cooks in a single oven-safe skillet, minimizing cleanup while maximizing flavor
- Naturally impressive presentation – The dramatic puff and caramelized apples look restaurant-quality with zero artistic skill required

Choosing the Right Apples for Apple Pancake
The apples you select dramatically impact the final flavor and texture of your apple pancake. The right variety holds its shape while developing sweet, caramelized notes.
Best Apple Varieties for This Recipe
Granny Smith apples are ideal for apple pancake because their tartness balances the sweet batter and they maintain structure during cooking without turning mushy. The firm flesh holds up beautifully to high heat, creating distinct apple pieces with caramelized edges.
Honeycrisp apples offer excellent sweetness and satisfying crunch that persists even after cooking. They caramelize beautifully and provide natural sweetness that reduces added sugar needs.
Braeburn or Jonagold apples provide perfect sweet-tart balance with firm texture that doesn’t break down. These varieties develop deep caramelization and complex flavor when cooked in brown butter.
Avoid Red Delicious or McIntosh apples—they become mushy and watery when heated, creating soggy pockets in your apple pancake instead of distinct, caramelized pieces.
Buying Tips for Perfect Results
Look for firm apples without soft spots or bruising. The apple should feel heavy for its size, indicating juiciness and freshness. Squeeze gently—it should feel solid with no give.
Buy apples with bright, unblemished skin and a fresh apple scent at the stem end. Avoid apples stored in the produce section for too long—they develop a waxy coating and lose flavor.
For this apple pancake recipe, purchase 2 medium apples (about 12 ounces total). This provides the perfect apple-to-batter ratio without overcrowding the pan.
Apple Substitutions and Alternatives
Swap apples for firm pears (Bosc or Anjou) for a delicate, sophisticated variation. Use peaches in summer for a seasonal twist, though they’ll be softer and more delicate than apples.
For lower-carb apple pancake, reduce apple quantity to 1 apple and increase eggs to 4 for more protein. The pancake will puff higher with less fruit weight.
Frozen apple slices work in a pinch—thaw completely and pat very dry with paper towels before cooking to prevent excess moisture from making the apple pancake soggy.
Ingredients & Prep
Apple Pancake Essentials
For one 10-inch apple pancake (serves 3-4):
For the apples:
- 2 medium apples (Granny Smith or Honeycrisp), peeled, cored, and sliced ¼-inch thick
- 3 tablespoons unsalted butter
- 2 tablespoons brown sugar
- ½ teaspoon ground cinnamon
- Pinch of salt
For the batter:
- 3 large eggs, at room temperature
- ½ cup whole milk, at room temperature
- ½ cup all-purpose flour
- 2 tablespoons granulated sugar
- 1 teaspoon vanilla extract
- ¼ teaspoon salt
- Pinch of nutmeg (optional)
Critical prep steps: Bring eggs and milk to room temperature for 15-20 minutes—this creates a smoother batter that rises more dramatically. Cold ingredients create a dense, heavy apple pancake.
Peel and slice apples just before cooking to prevent browning. Keep slices uniform (¼-inch) for even cooking and caramelization.
The Brown Butter Technique
Why brown butter transforms this recipe: Browning butter creates nutty, caramel-like flavor compounds that elevate simple apple pancake into something extraordinary. This takes just 2-3 minutes but adds incredible depth.
How to brown butter properly: Melt 3 tablespoons butter in your oven-safe 10-inch skillet over medium heat. Swirl the pan as butter melts and begins to foam. Watch carefully—the milk solids will turn golden brown and smell nutty (like toasted hazelnuts). Remove from heat immediately when you see amber color and smell the nutty aroma. This happens quickly around the 2-3 minute mark.
Don’t walk away during browning—butter goes from perfect to burnt in seconds. If you see black specks or smell acrid smoke, it’s burned. Start over.
Batter Mixing Method
Whisk eggs in a medium bowl until frothy and light yellow (about 30 seconds). Add milk, flour, granulated sugar, vanilla, salt, and nutmeg. Whisk vigorously for 30-45 seconds until completely smooth with no flour lumps visible.
The secret to maximum puff: Don’t overmix once smooth—you want to incorporate air but not develop too much gluten. The batter should be thin, similar to crepe batter, and flow easily when poured.
Let batter rest while you cook the apples (about 5 minutes). This allows flour to fully hydrate and creates better texture.
Step-by-Step Cooking Instructions
Pre-Cooking Prep (5 minutes)
Preheat your oven to 425°F—this high temperature is essential for the dramatic puff characteristic of apple pancake. Position the rack in the center of the oven.
Prepare your apples: peel, core, and slice into uniform ¼-inch pieces. Toss with cinnamon if doing this ahead.
Prepare batter and let it rest at room temperature while you caramelize apples. Have everything ready because timing matters once the pan goes into the oven.
Cooking the Apples (5 minutes)
Heat your 10-inch oven-safe skillet (cast iron works perfectly) over medium heat. Add 3 tablespoons butter and brown it as described above—swirl constantly and remove from heat when nutty and golden (2-3 minutes).
Immediately add apple slices to the hot brown butter, arranging them in a single layer. Sprinkle with brown sugar, cinnamon, and pinch of salt. Cook without stirring for 2-3 minutes until apples begin to soften and caramelize on the bottom.
Gently flip apple slices with a spatula and cook another 1-2 minutes until just tender but still holding their shape. They’ll continue cooking in the oven, so slight undercooking at this stage is perfect.
Baking the Apple Pancake (12 minutes)
Arrange caramelized apple slices evenly across the pan. Pour the prepared batter directly over the apples, distributing it evenly—don’t stir or mix, just pour in a circular motion to cover all the apples.
Immediately transfer the skillet to the preheated 425°F oven (use an oven mitt—the handle is hot!). Bake for 12-15 minutes without opening the oven door.
Critical rule: Do not open the oven during baking. The temperature drop causes the apple pancake to deflate. Trust the process and let it bake undisturbed.

Doneness Check
The apple pancake is done when it’s dramatically puffed around the edges (the sides will rise 2-3 inches above the pan), golden brown on top, and set in the center. The middle might jiggle slightly but shouldn’t look wet or liquid.
If you gently press the center with your finger (carefully—it’s hot!), it should spring back slightly and feel set rather than liquid. The edges will be crispy and deeply golden.
Serving Immediately
Apple pancake deflates within 2-3 minutes of leaving the oven—this is completely normal and expected. Serve immediately while it’s still warm and slightly puffy.
Cut into wedges directly in the skillet, or carefully slide onto a serving plate using a large spatula. Dust with powdered sugar, drizzle with maple syrup, and add a dollop of whipped cream or yogurt.
Pro Tips for Perfect Apple Pancake
Avoiding Common Mistakes
Using a cold skillet or cold ingredients creates dense, flat apple pancake. Preheat your skillet while browning butter, and bring eggs and milk to room temperature. The hot pan and room-temperature batter create steam that causes the dramatic rise.
Opening the oven door during baking deflates the puff. Resist the urge to check on it. Set a timer for 12 minutes minimum and only peek through the oven window if you must.
Overcooking the apples before baking makes them mushy. Cook just until slightly tender with light caramelization. They’ll finish cooking in the oven. Mushy apples release too much liquid and prevent proper rising.
Using the wrong pan affects results. You need an oven-safe 10-inch skillet—cast iron is ideal because it retains heat and creates crispy edges. Non-oven-safe pans will warp or damage, and pans larger than 10-inches create thin, crepe-like results instead of puffy apple pancake.
Tool Recommendations
A 10-inch cast-iron skillet is the gold standard for apple pancake—it distributes heat evenly, goes from stovetop to oven seamlessly, and creates the crispiest bottom. A stainless steel oven-safe skillet works well as a second choice.
A balloon whisk incorporates maximum air into batter for better rise. A fish spatula with thin, flexible edges makes serving easier without breaking the delicate pancake.
An oven thermometer ensures your oven truly reaches 425°F—many ovens run cool, which prevents proper puffing.
Making Bite-Sized Apple Pancake Variations
For individual servings: Use a 12-cup muffin tin. Divide brown butter and caramelized apples among cups (about 1 tablespoon apples per cup). Pour batter over apples, filling each cup ⅔ full. Bake at 425°F for 10-12 minutes until puffed and golden. These are perfect for meal prep or serving a crowd.
For mini skillets: Use 4-6 inch individual cast-iron skillets. Divide ingredients proportionally (about ⅓ cup batter and a few apple slices per skillet). Bake for 8-10 minutes. Perfect for elegant individual presentations.
Storage and Reheating
Apple pancake is best fresh but can be stored. Cool completely, cover tightly with plastic wrap, and refrigerate up to 2 days. Reheat in a 375°F oven for 5-7 minutes to restore some crispness—it won’t puff again but will still taste delicious.
Freezing: Not recommended for the finished apple pancake as texture becomes rubbery. However, you can freeze the prepared batter (up to 1 month) and caramelize apples fresh when ready to bake.
Make-ahead strategy: Prep and measure all ingredients the night before. In the morning, the actual cooking takes just 20 minutes from start to finish.
Flavor Variations
Seasonal Twists
Fall Spiced Apple Pancake: Add ¼ teaspoon cardamom and ⅛ teaspoon ground ginger to the batter. Top finished pancake with chopped candied pecans and caramel drizzle.
Winter Cranberry Apple: Add ¼ cup fresh or frozen cranberries to the apples while caramelizing. The tart berries create beautiful pops of color and tangy contrast.
Summer Berry Apple: Reduce apples to 1 and add ½ cup mixed berries (blueberries, raspberries). Top with lemon zest and fresh whipped cream.
Dietary-Friendly Options
Gluten-Free Apple Pancake: Replace all-purpose flour with 1:1 gluten-free baking flour blend. The texture will be slightly more delicate but still delicious. Ensure your blend contains xanthan gum for structure.
Dairy-Free: Use dairy-free butter alternative for cooking apples and substitute oat milk or almond milk for regular milk in batter. Results are nearly identical to the traditional version.
Lower Sugar: Reduce or omit brown sugar on apples—they’ll still caramelize naturally. Use naturally sweet apples like Honeycrisp and reduce granulated sugar in batter to 1 tablespoon.
Protein-Boosted: Add 1 scoop unflavored protein powder to the batter and reduce flour to ⅓ cup. Increases protein content while maintaining structure.
Global-Inspired Flavors
French Apple Tarte Tatin Style: Caramelize apples with a splash of Calvados (apple brandy) before adding batter. Serve with crème fraîche.
German Apple Pancake (Apfelpfannkuchen): Add lemon zest to batter and serve with a squeeze of fresh lemon juice and powdered sugar.
Scandinavian Cardamom Apple: Add ½ teaspoon ground cardamom to the batter. Top with lingonberry jam and a dollop of yogurt.
Mexican Cinnamon Apple: Use Mexican cinnamon (canela) for sweeter, more complex flavor. Serve with cajeta (goat milk caramel) drizzle.
Serving Suggestions
Apple pancake is substantial enough to be the star of breakfast or brunch, but thoughtful accompaniments create a complete, memorable meal.
Classic toppings: Dust generously with powdered sugar through a fine-mesh sieve for elegant presentation. Drizzle with pure maple syrup, honey, or warm caramel sauce. Add a generous dollop of whipped cream, crème fraîche, or Greek yogurt for richness.
For complete breakfast: Pair with crispy bacon or breakfast sausage for protein and salty contrast. Serve with fresh fruit salad or mixed berries on the side.
Elevated brunch presentation: Top with a small scoop of vanilla ice cream or cinnamon ice cream. Garnish with toasted pecans or walnuts, a sprig of fresh mint, and a light drizzle of salted caramel.
Beverage pairings: Serve with strong coffee, hot apple cider, fresh-squeezed orange juice, or champagne for special occasions. Hot tea (chai or cinnamon) complements the warm spices beautifully.
Plating tips: Cut into wedges and fan out slightly on individual plates. Dust with powdered sugar, add a small butter pat that melts into the warm pancake, and drizzle syrup artistically. Garnish the plate with fresh apple slices or berries for color.
FAQs
Can I make apple pancake without an oven-safe skillet? Yes, but with modifications. Cook apples in a regular skillet, then transfer everything to a greased 9-inch pie dish or cake pan. Pour batter over apples and bake as directed. Results won’t be quite as crispy on the bottom, but the apple pancake will still puff and taste delicious.
Why didn’t my apple pancake puff up? Common causes include: cold ingredients (eggs and milk must be room temperature), opening the oven door during baking (releases heat and steam), oven temperature too low (verify with a thermometer), or overmixing the batter (develops too much gluten). Ensure your oven truly reaches 425°F.
Can I use a different size skillet? The recipe is optimized for 10-inch skillets. A 9-inch skillet creates thicker, denser apple pancake (increase baking time to 15-17 minutes). A 12-inch skillet creates a thinner, crepe-like result that won’t puff as dramatically. Adjust your expectations based on pan size.
How do I prevent the bottom from burning? Use medium heat (not high) when cooking apples, and don’t let the brown butter get too dark—it continues cooking in the oven. If your oven runs hot or you have a very conductive pan, reduce temperature to 400°F and bake a bit longer (14-16 minutes).
Can I make this ahead for meal prep? The finished apple pancake is best immediately from the oven, but you can prep components ahead. Mix dry ingredients, prep apples, and even mix the wet ingredients separately. Store everything in the fridge overnight, then bring to room temperature and cook in the morning (takes 20 minutes).
Is apple pancake safe during pregnancy? Yes, when fully cooked. The eggs cook completely in the oven at 425°F, reaching safe internal temperatures. Ensure the center is set and not runny. Use pasteurized eggs and dairy products if you have concerns.
What’s the difference between apple pancake and Dutch baby? They’re essentially the same—both are German pancake variations that puff dramatically in the oven. Apple pancake specifically includes caramelized apples cooked into the batter, while Dutch baby is typically served plain or with simple toppings added after baking.
Can I double this recipe? Not in one skillet—it won’t cook evenly or puff properly. Instead, make two batches simultaneously in two 10-inch skillets, or make one batch, keep it warm in a low oven (200°F), and immediately make the second batch.
Conclusion
Transform your morning routine and impress everyone at your breakfast table with this stunning apple pancake that takes just 20 minutes from start to finish! Whether it’s a special weekend brunch or a surprisingly quick weekday treat, you now have the technique to create bakery-quality results with minimal effort.
Join over 30,000 home cooks who’ve discovered that impressive breakfast doesn’t require hours in the kitchen—just smart techniques and quality ingredients. This apple pancake delivers maximum wow factor with minimal time investment, making every morning feel a little more special.
Ready to explore more quick, impressive breakfast recipes? Try our [Classic Dutch Baby Pancake] for the plain version of this technique, or check out [20-Minute Cinnamon Roll Muffins] that deliver similar comfort-food satisfaction in record time.
We’d love to see your apple pancake creations! Share photos and tag us with your favorite topping combinations. Will you try the classic version first, or jump straight to the bite-sized muffin tin variation? Happy cooking!